장고 채팅방
장고에서 채팅방 구현하기가 엄청 쉬워졌습니다. 장고에 통합된 기능이니까, 이런 식으로 user 객체를 사용할 수 있어서 행복합니다.
class ChatConsumer(AsyncWebsocketConsumer):
    async def connect(self):
        self.user = self.scope["user"]
        if self.user.is_anonymous:
            raise Exception('go away!')
튜토리얼만 쫓아가면 구현가능합니다. https://channels.readthedocs.io/en/latest/tutorial/index.html
저는 튜토리얼 따라한 시간보다 서버 배포에서 더 오래 고생했습니다. 채널 서버로 daphne 라는 놈을 선택했는데, daphne 는 백엔드로 redis 5 이상을 요구하고, 테스트 서버에 설치된 ubuntu 18 에서 그걸 설치하는건 너무 험난했습니다. (이번 기회에 ubuntu 20 으로 올렸습니다. ) 그리고, nginx, gunicorn, daphene 설정도 몇번이나 다시 해봐야 했고요.
암튼, nginx의 뒷단에 gunicorn 붙이듯이, daphne 를 잘(?) 붙여주면 됩니다.
upstream your_web_gunicorn {  # 기존 gunicorn
    server localhost:8000;
}
upstream your_channel_daphne {
    server localhost:8001;
}

server {
    listen 80;
    server_name your_domain.com;

    # 이 부분이 추가되는 부분
    location /ws {
        proxy_pass http://your_channel_daphne;

        proxy_http_version 1.1;
        proxy_set_header Upgrade $http_upgrade;
        proxy_set_header Connection "upgrade";

        proxy_redirect off;
        proxy_set_header Host $host;
        proxy_set_header X-Real-IP $remote_addr;
        proxy_set_header X-Forwarded-For $proxy_add_x_forwarded_for;
        proxy_set_header X-Forwarded-Host $server_name;
    }
    # 아래는 기존 장고관련 설정
    location /static/ {
		alias /home/ubuntu/your_web/staticfiles/;
    }
    location / {
        include proxy_params;
        proxy_pass http://your_web_gunicorn;
    }
}
daphne 서버는 systemd 에 추가했습니다.
[Unit]
Description=daphne server script
After=network.target

[Service]
User=ubuntu
Group=ubuntu
WorkingDirectory=/django_folder
ExecStart=/home/ubuntu/venv/bin/daphne -b 127.0.0.1 -p 8001 config.asgi:application
Restart=always

[Install]
WantedBy=multi-user.target
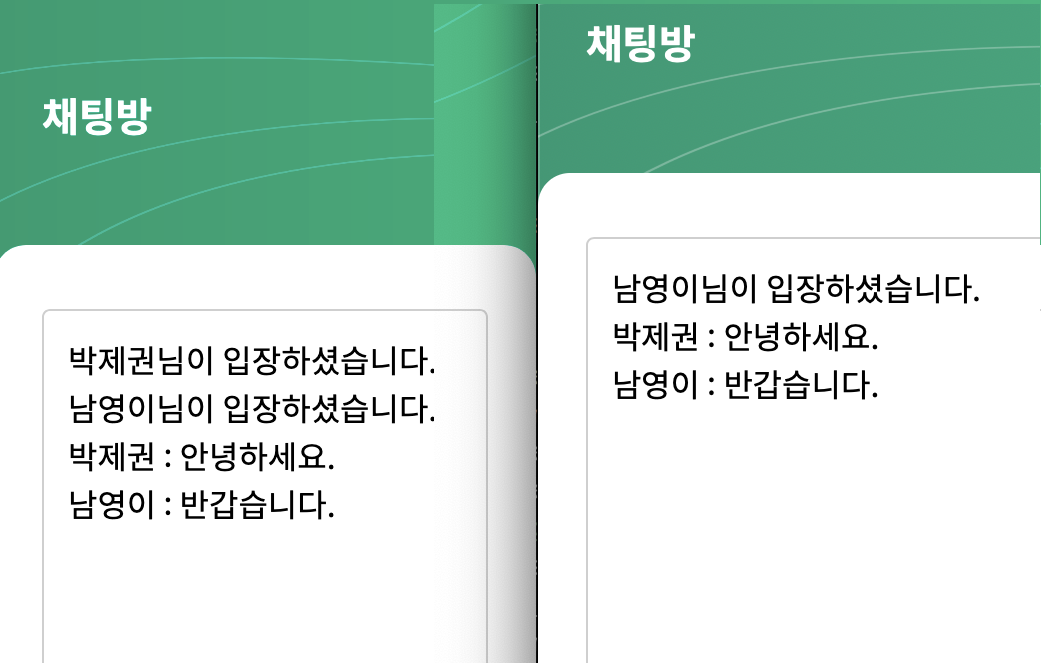
짧은 코드로, 웹페이지에서 채팅 동작하는 모습이 이쁘네요.